A while back Jenn and I went to the most fantastic flea-market EVER. It is in Connecticut and called the White Elephant. It outside and HUGE. so much cool stuff. I found a cobblers form that they would use to put new soles on shoes and I now use it to display the sock sample for the kits! Well on that day of frenzied shopping and imagination overload, I purchase three display forms. The ones you would use in a store, plastic and hollow backed. Yeah, those. Well in my haste to score the buy, he only wanted ten buck for the three of them, I neglected to realize that they were boys or young prepubescent girls. That my friends was a goof. We sell yarn to WOMEN (and men) and a display of a gorgeous shawl on a young BOY, that was not going to work. I could have thrown them out. Nope, that's not me. So I decided to "fix" them. I'm frugal, smart and crafty, I can do this, right?
Here is Bruce. Now please, before you go snarky about not being PC, I think it took a huge amount of bravery and a fantastic support group for Bruce Jenner to do what he did. I applaud him. It does not mean I don't respect his choices if I call them Bruce and Caitlin.
Meet Bruce. Nice size and clean. Stands about 2 and a half feet tall and 18 inches wide. I need a WOMAN!

Looking back now I don't think I needed to do this step, she could have stayed hollow and lessened the risk of mould.

Must. Have. Boobies. BTW they all take after me, the right hand side boob is off, bigger, lopsided etc. Yup, more info then you needed on me, I know. I like to share.
First display I taped on the dry material, should have continued doing it this way and not applying the wetted crumpled newprint as I did later. Again, gotta worry about mould.

Made my slurry of flour and water and applied the newsprint to the entire thing, front and back. Set it in the sun to dry while I started on Katherine (they can't ALL be Caitlin). It was HOT this weekend, really hot, like Tarzan couldn't stand the heat, H.O.T. Stuff dried fast.

Almost, put a butt on her. Almost.

Katherine being fitted for her boobies. New technique and still didn't work too well.

Even when she is standing up her boobs looked like she was lying down. Had to fix that....

Caitlin on the Right and Katherine on the Left. Hmmmmmmm they don't look like women.... they look like teenage girls with silicone implants. But you gotta agree they are better than Bruce.

Wow those knockers are BIG and is the left boob squished? How did that happen? Grr.


Between Katherine and Shelia I realized it was the hips that were throwing me off. So everyone headed back to the operating table to have beautiful, big, holdable hips added to their frames.
Much better. Here is everyone Saturday afternoon, hanging on the garden gate to dry. I should not have left them there over night. It seems that squirrels have a taste for flour and water soaked news paper and took a bite out of Katherine's hip. The cheek (ha ha get it?) of some animals.

My set up in the shade in the back patio/pit area. Colin and Peter have been keeping their motorcycles back here and I was able to scam some shade.

Yes, that is my glass of wine with ICE in it. I did say it was hot right? Next step once they were dry was to add the pretty paper on top. Half and half water and white glue as the adhesive/glaze. I used 5 different papers and cut them into the same size squares. Wanted a quilt like look to them. All three are in shades of black and white. Hopefully it will allow the samples to show off their colors.


This is Caitlin done, front and back. I added a pretty pink flower above her left breast later.
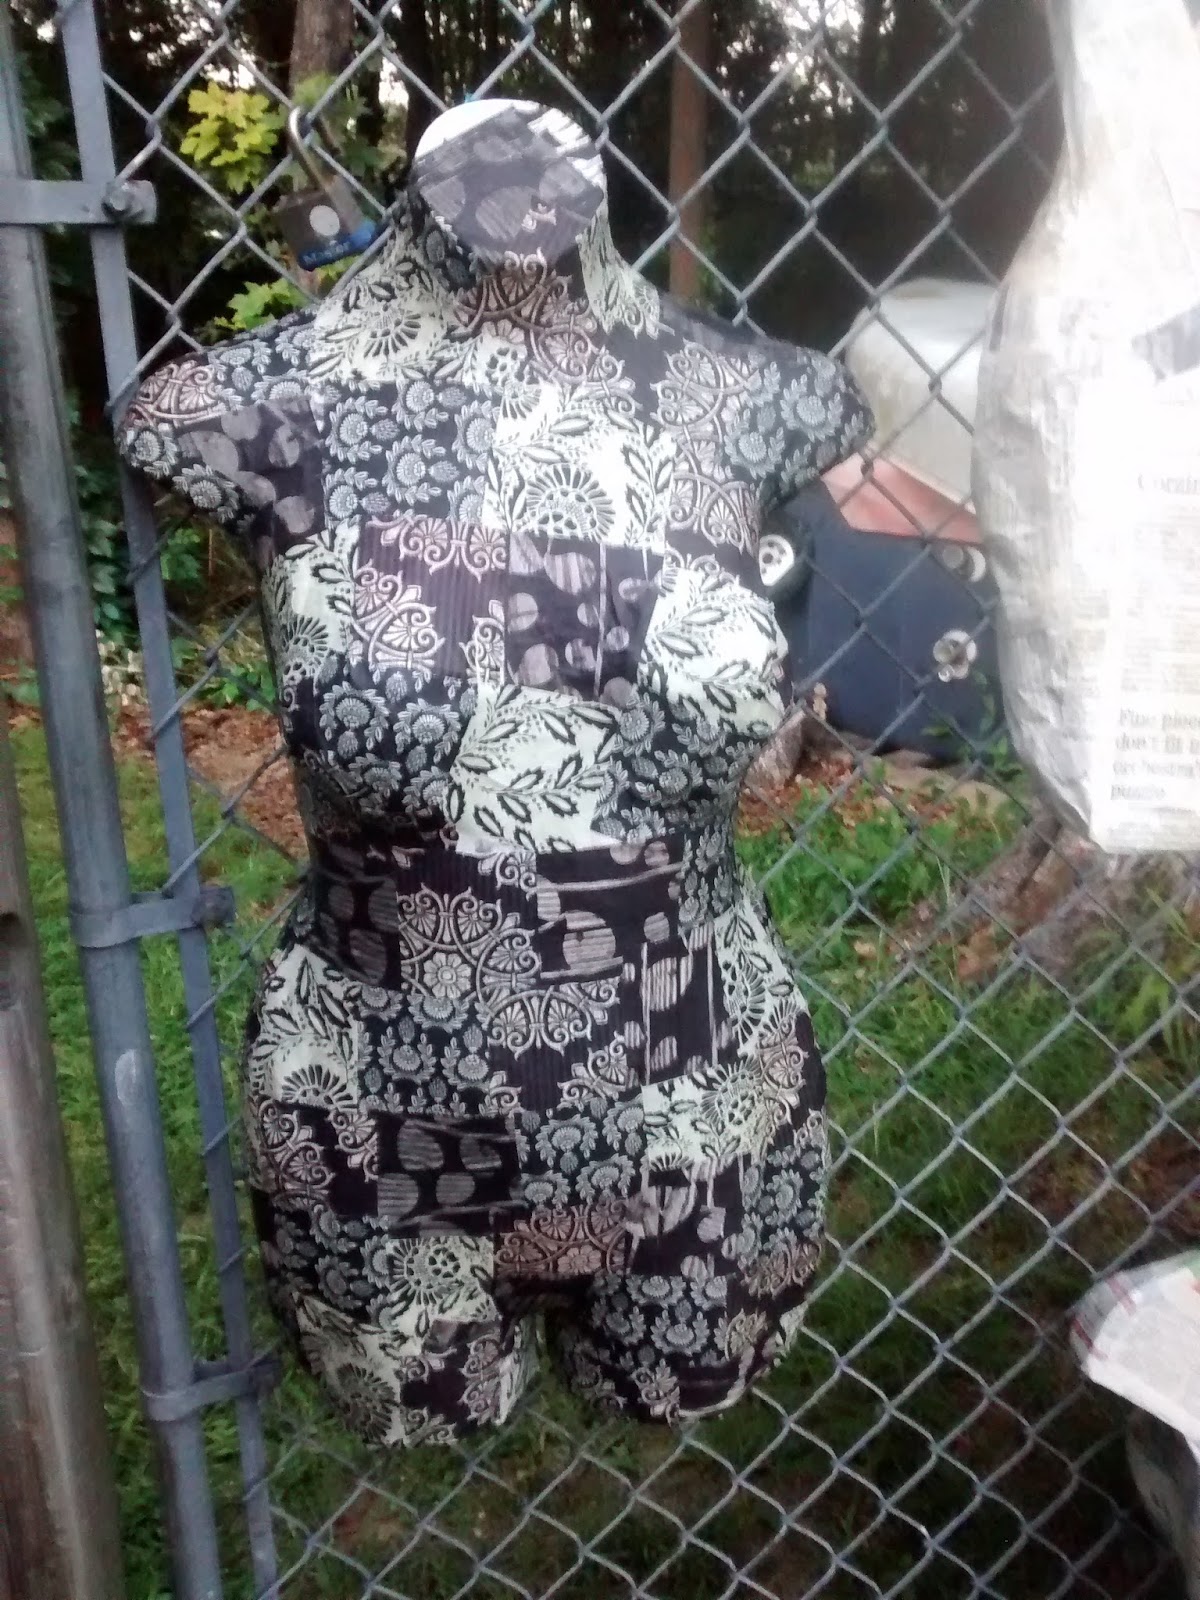
Now to figure out how to hang them above the sales panels at the shows and I'm all set. They could also be attached to shepherds crooks and planted in a pot of sand to help them stand.....
We shall see what happens to the ladies next....
Happy Crafting,
DD


